Thursday, October 31, 2019

Stampin' Up! Abstract Christmas


Instagram Inspiration


Sometimes, while scrolling through Instagram posts there is something new that grabs me. If you are an avid Instagram lover you know what I mean. 

I have always had a flair for the abstract anyway, but when I happened upon an Instagram post from a company called Ampersand Design Studio, I was smitten.

One thing I love to do is to mix patterns and colors. 

I even do this with my outfits. I am the one who pairs a pair of cowgirl boots with a cocktail dress and not in same color family. 

There are even times when I have to ask my husband if something outrageous I put on works, and every now and then he tells me...no. I do push the limits from time to time.

All of this and more brings me to tell you about Ampersand Design Studio. Can I just say, and by the way, I cannot explain it, but I am and have always been infatuated with the ampersand. Perhaps, that is one of the many reasons that drew me to this company.

They play with colors. Perhaps, even colors that may not go together on any other palette, but the way they thoughtfully throw in shape and design, it just works!

Before, I share my Ampersand Design Studio inspired Christmas card, I have to share a quick sad story.

I did a little homework on where this company was located, I was hoping it was in my backyard, but alas, they are in Kansas. That was a great second location, because my eldest son lives right outside of Kansas in Kansas City, Missouri. 

Well, I headed out on a road trip with my husband to visit my son for a long weekend. We took some time, during the trip, to head to our favorite Italian market to purchase some incredible and tasty sausages to bring back home.

And let me say, before I go on, I can be pretty dense. It is only one of my short comings, but I digress... 

My husband and I are in this wonderful little homespun and a must destination shopping market in Kansas City and I was only an arm length away from some of the of the wonderful crafted products created by the Ampersand Design Studio and did not even know it! 

Isn't that just the saddest! I wanted one other T-shirts! Unfortunately, I have fluffed up my waist line to such an undesirable degree, and I am not quite sure if I need to go up a size in their shirts. That is the only reason, I have not purchased online yet. 

I was right there, so close, to trying on what I have wanted from afar and did not know it until I got back home and realized I was right in front of a shop that sold Ampersand Design Studio products. I am grieved beyond words Y'all!  

Well, without further ado, here is my Ampersand Design Studio inspired card.
Just so you know, they also sell cards in their online store and have stationary products right in your hometown Target! 

Check out their website by clicking on any mentions of their business title above and visit your local Target. Both of which, I love!


I used a handful of Stampin' Up! products to create this fun card. 

While I could have simply cut a number of squares to size, I used a Layering Square Die (141708), well, to stay square.

Even though, I can hear my husband's voice say, "Work smarter, not harder," I wanted to make sure one or a few of my squares were not off. 

In hindsight, I probably could have filled up the entire card face, which I would have perferred, if I figured out the right size of square needed, instead of using a preset dimension...next time.


I tried to use a circle punch, but it was hard to center, so I used a Layered Circle Die (129381) instead along with a heart die from the retired Sweet & Sassy Framlits (141707). 

Again, in hindsight, I could have punched some holes with a 1" punch (119868) and then used the square die.

In the end, I cut out a number of squares and placed the circle and heart die together in each pass with my BigShot. 

However, I did use a combination of the retired 1 3/4" and 2" (133782) Circle punches for the layered sentiment, which came from my favorite Holiday set Cup of Christmas (150491) and was heat embossed in White (109132).

I almost forgot, the color combination! I love my Stampin' Up! products! Cardstock colors include: Basic Black (121045), Night of Navy (100867), retired Perfect Plum , Petal Pink (146985)119793), Poppy Parade (119793), Rococo Rose (150882), Shaded Spruce (146981), and Whisper White (100730).

If you have not already, take a minute and check out Ampersand Design Studio and follow them on Instagram!

💗 Vally


Wednesday, October 30, 2019

Give a Glass of Wine


Holiday Open House and a Little Cheer!

One of the fun projects completed during my Holiday Open House was a Mini Wine Holder originating from a YouTube video recorded by Sally Stampers.

The only change I made to the project below, other than the Designer Series Paper (DSP) and decorative label is the DSP was cut down to a width of 2" rather than 1 7/8" so not to leave a border.


The bottle size does matter when completing this project on your own. I purchased a mini bottle of bubbly Pink Moscato and it did not fit in the decorative holder.


The DSP called Toile Tidings (150432) comes from the 2019 Stampin' Up! Holiday Catalog. I loved mixing up the patterns for a different look. I ended up making a half of dozen Holders and did a few in Garden Green, which is another featured color in this DSP package. 

The Holder base was crafted using Very Vanilla 12" X 12" Cardstock (144239). 


I kept the background of the label neutral using Crumb Cake Cardstock (120953) cut from the largest Stitched Shaped Oval Die (145372).

Using another Holiday item from the 2019 Catalog, I layered a sprig of Garden Green (102584) greenery to ground the bottle of wine that I used as a focal point for the front of the label. This came from The Christmas Layers Dies (150654).

The wine bottle was stamped in Memento Black (132708) and colored in with a Dark Real Red Stampin' Blend alcohol marker (147934). The bottle, not the tag, was covered in Glossy Accents. This set is a retired item called Half Full (144999).


Some other items needed to complete this adorable holder is a pencil, ruler, 
1 1/2" circle punch (138299) or circle die (141705), Simply Scored Scoring Tool (122334), paper snips paper snips, dimensionals (104430), and your favorite adhesive. I recommend using Tear & Tape (138995).


I also stamped a "To: and From:" on the back to leave a message to the recipient.
.
The holder is fairly easy to make and the video that is linked above (simply click on "Sally Stampers") provides step by step directions. 

Give this fun project a try and give someone special in your life a little Cheer.

If you need any of the items to create your own Mini Wine Holder, shop my online store.

💗 Vally


Thursday, October 24, 2019

My Favorite Stampin' Up! Holiday Bundle


Giving a Cup of Christmas Cheer

Hello to all my crafty friends! 

I wanted to share my #1 favorite item from the Stampin' Up! 2019 Holiday Catalog Creativity is Calling Catalog.

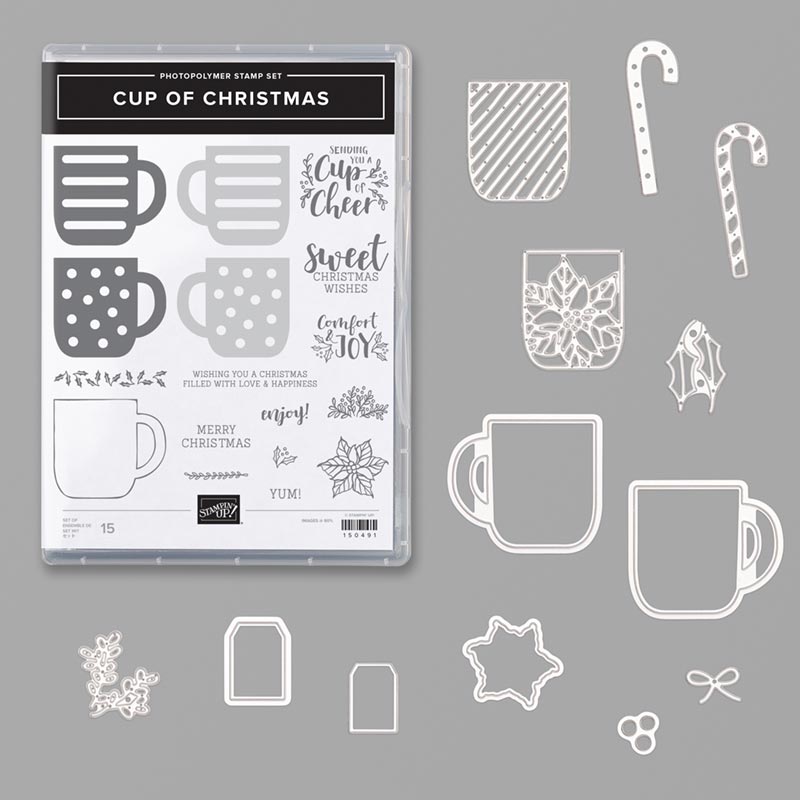
The Cup of Christmas Bundle!


CUP OF CHRISTMAS BUNDLE (EN)


I have had so much fun playing with this set and continue to enjoy it in new ways.

The 3D project I am sharing today comes all the way from Fichtelgebirge, Germany! 

It was a little challenging to convert the measurements and I am sure I did not use the easiest methods...but here it is...

An Accordion Tea Bag Holder with a Magnetic Closure.


This idea came from Stampin' Up! demonstrator Conni Richter. You can find her her original project at stempellicht. blogspot.com.

It is truly amazing we can share in creativity with others all over the world!

I have designed a couple of variations. 

The one I am sharing here begins with a piece of 
2 3/4" x 11" Crumb Cake Cardstock 
scored on the 11" side at 3 1/8", 3 7/8", 7 1/8", and 7 7/8".

I rounded the enclosure flap edges. 


Two Whisper White rectangles cut to 3 1/2" x 3"
were scored at 1/2", 1 1/8", 1 3/4" 2 3/8", and 3".

These two accordion pieces were adhered slightly off set to the edge of each side to create the inner storage sleeves for the tea bags.


Small round magnets with adhesive backs were attached at the midpoint of the box measuring 1 3/8" to create the flap enclosure.


I also created an Autumn set.

I also created a 3" x 11" box with envelope inserts not show here.

I hope you give this project a try.

Thank You for visiting Tattered Shoes Designs!

💗 Vally

Supplies can be found in my online store:


   CUP OF CHRISTMAS BUNDLE (EN)   
Cup of Cheer
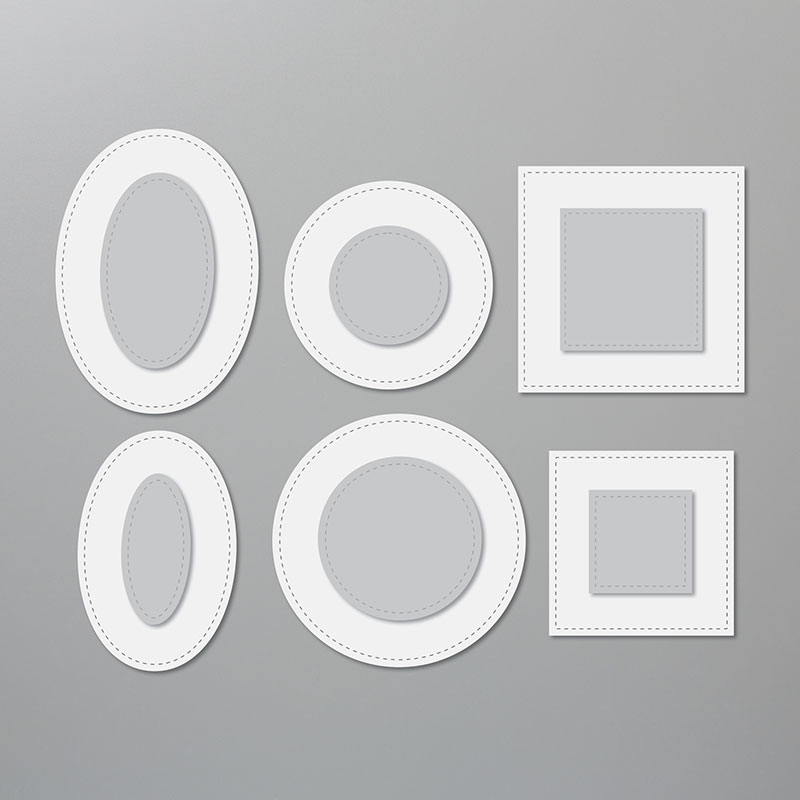
STITCHED SHAPES DIES
Stitched Shapes Dies
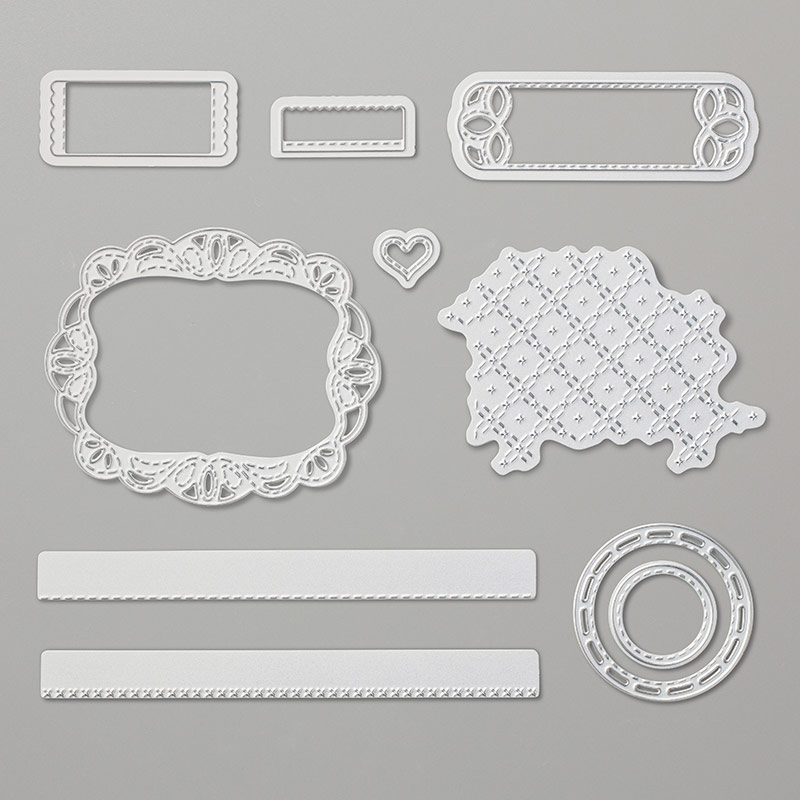
STITCHED LABELS DIES
Stitched Labels

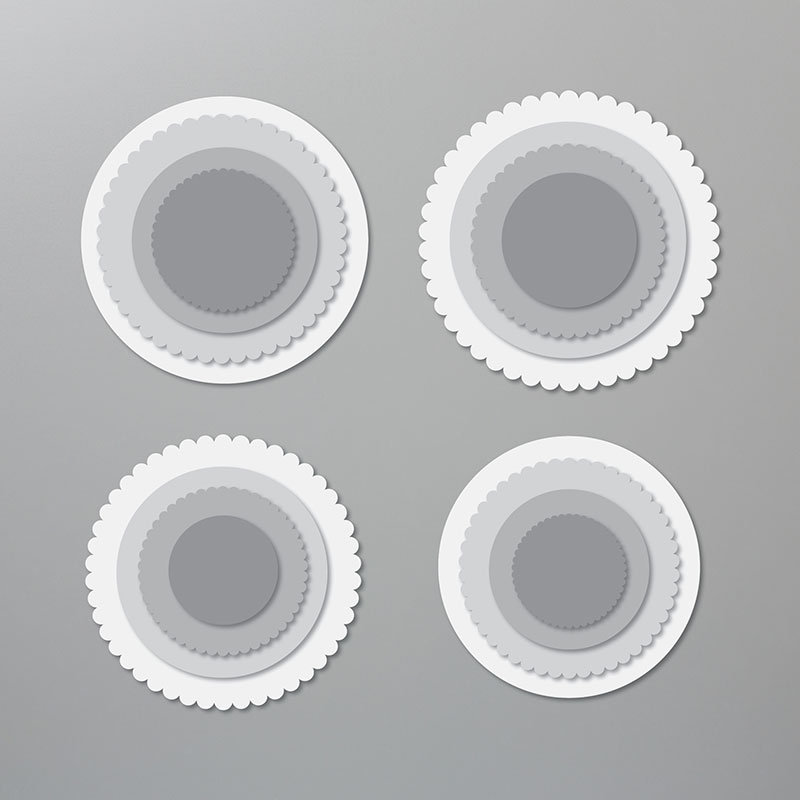
LAYERING CIRCLES DIES
Layering Circle Dies
Buffalo Check Cling-Mount Stamp Set
Buffulo Check Background Stamp
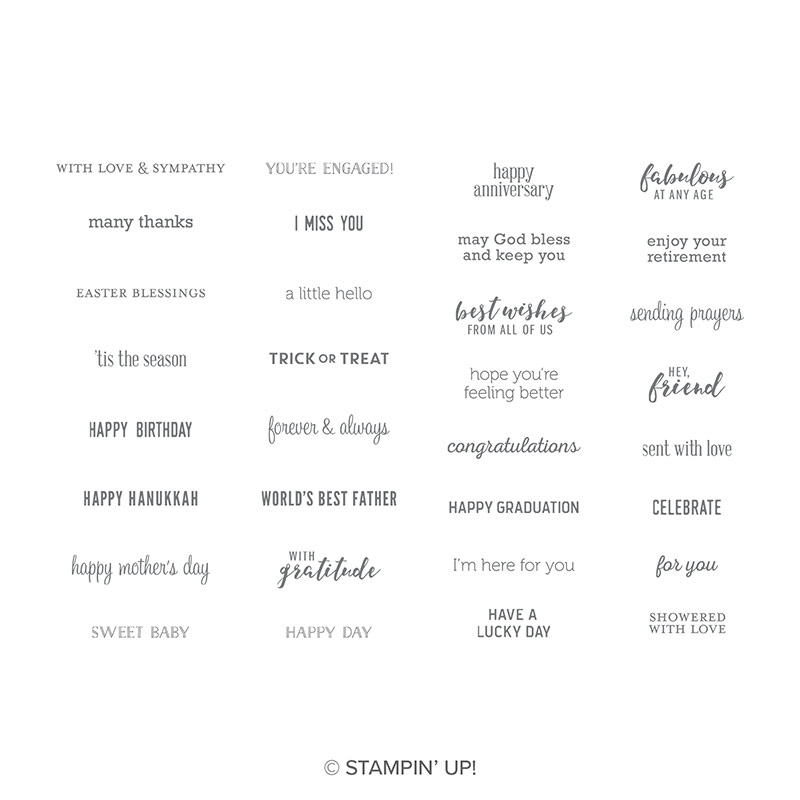
Itty Bitty Greetings Cling-Mount Stamp Set
Itty Bitty Greetings
  
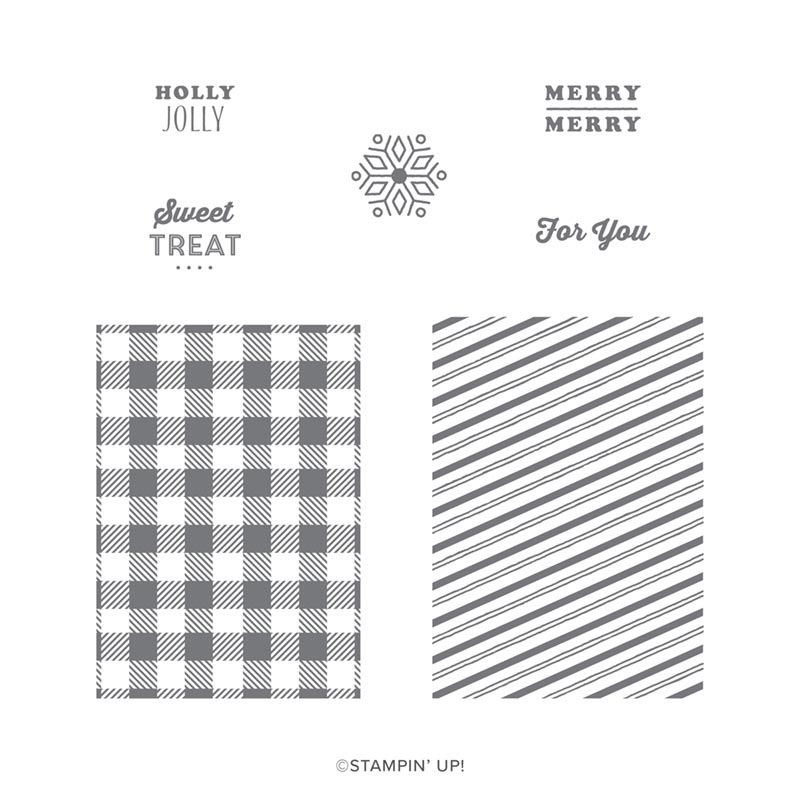
TINY KEEPSAKES CLING STAMP SET (EN)
Tiny Keepsakes
 Whisper White Cardstock
Whisper White Cardstock
Basic Black Cardstock
Basic Black Cardstock 
      
gold yellow pad
Crushed Curry Ink Pad
Night of Navy Classic Ink Pad
Night of Navy Ink Pad
cherry ink pad
Cherry Cobbler Ink Pad
      
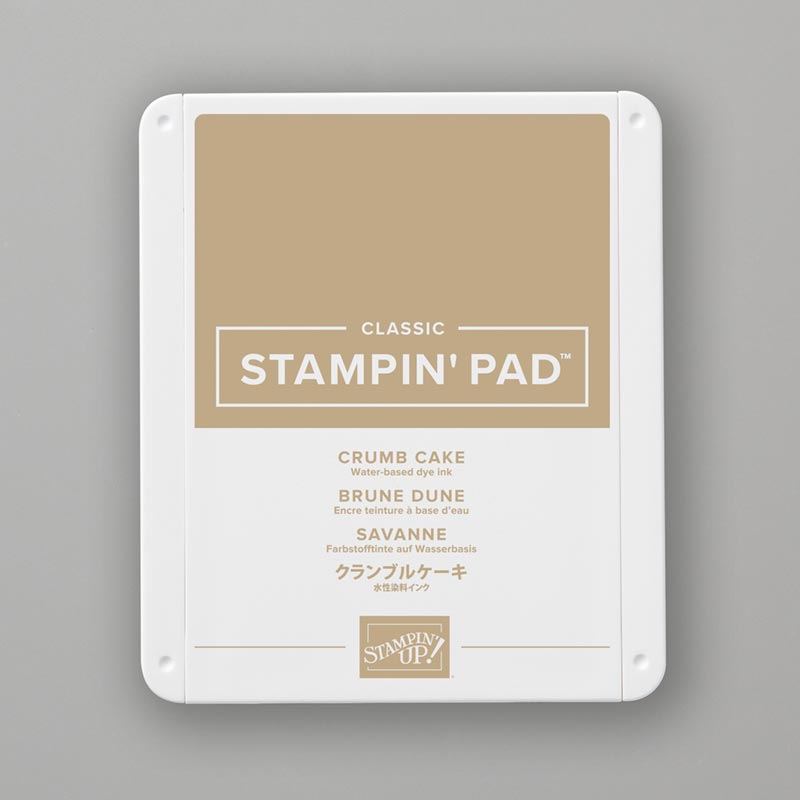
tan stamp pad
Crumb Cake Ink Pad
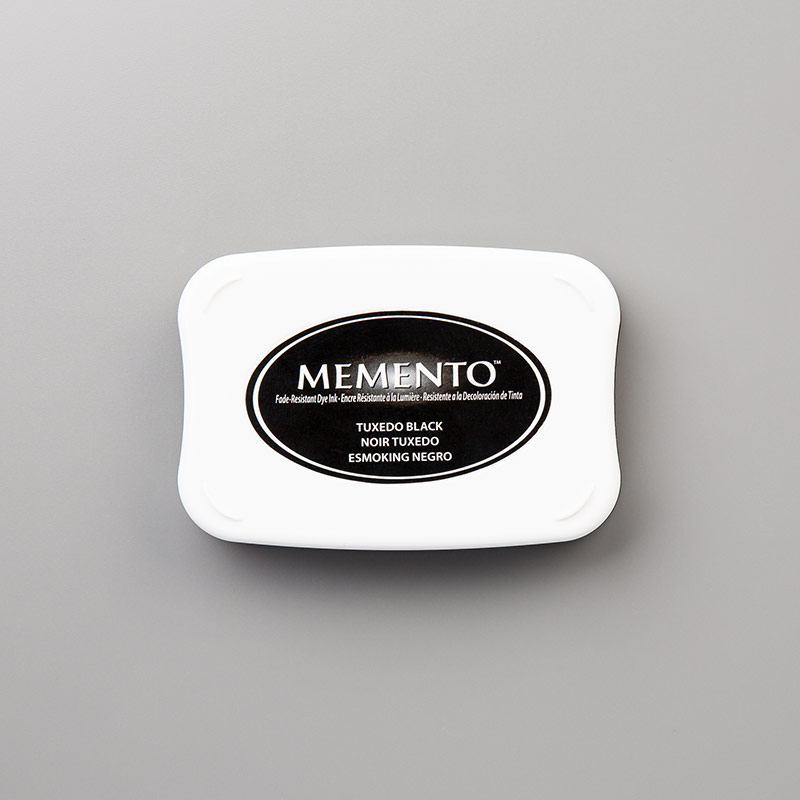
black stamp ink pad
Memento Black Ink Pad
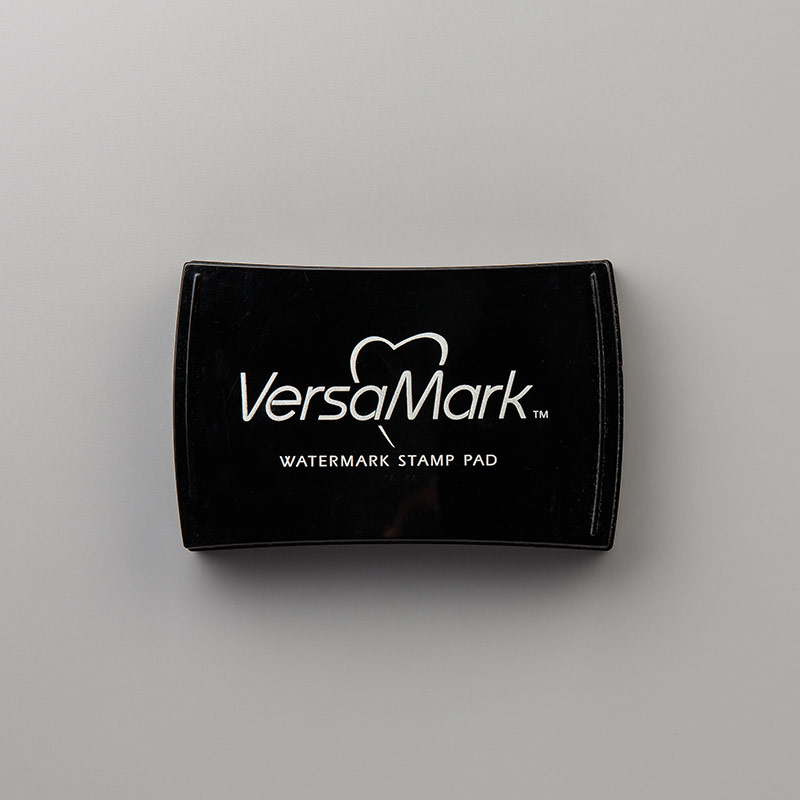
black ink
VersaMark Ink

gold yellow paper
Crushed Curry Cardstock
fabric pouch
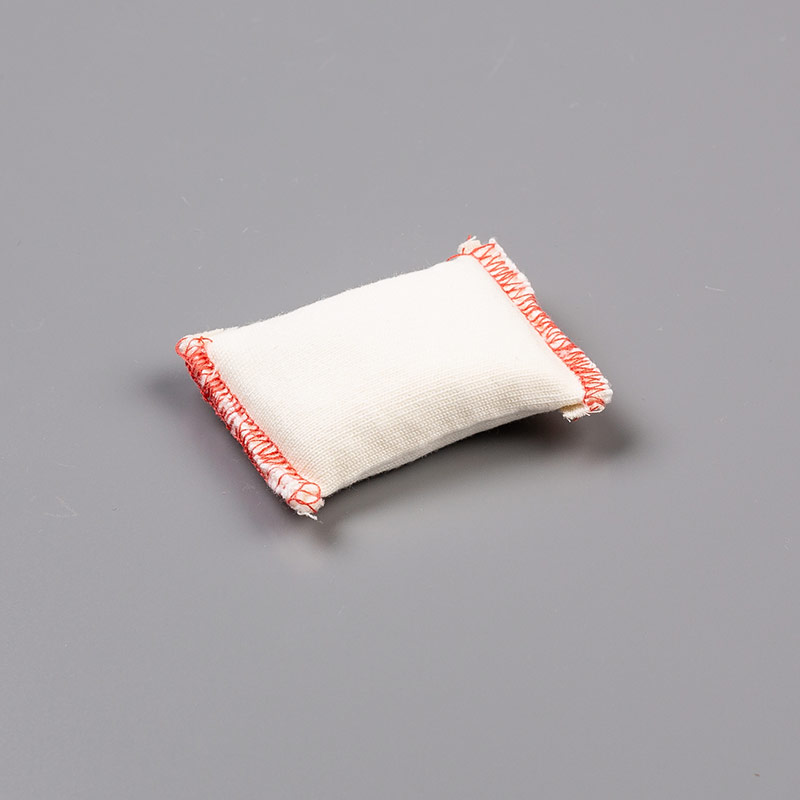
Embossing Buddy
embossing powder
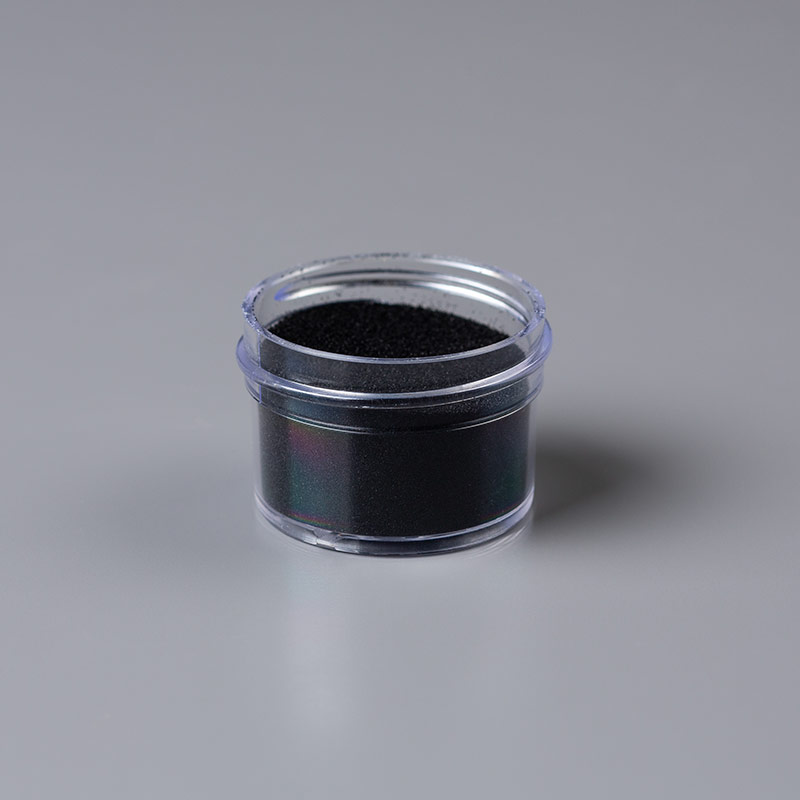
Black Emboss Powder

rich blue paper
Night of Navy Cardstock
watermelon pink
Cherry Cobbler Cardstock
deep green cardstock paper
Garden Green Cardstock
      
neutral tan paper
Crumb Cake Cardstock
    

Wednesday, October 23, 2019

Caramel Apples Anyone?


What a Fun Way to Give a Gift of Fall!

Plus an apple a day keeps the doctor away! 😋


Here is my version of a Caramel Apple Kit created by Canadian Stampin' Up! Demonstrator Allison Okamitsu of NicePeopleStamp.com.


It was one of the treats I created for a recent Fall Craft Bazaar.


These treat bags are so easy to whip up. All you need is 3" X 6" Cellophane Bags (102210), Popsicle sticks, 10 or so caramel squares per bag, twine and a few tags adorned with some special touches and a greeting or other sentiment Itty Bitty Greeting (151331)


I had to fashion some tag variety of course. This was accomplished with my new Taylored Expressions Blending Brushes, Whisper White Cardstock (100730), a stencil from the Basic Pattern Decorative Masks Set (150697), Linen Twine (104199), and Classic Stampin' Pad colors: Crushed Curry (147087), Pumpkin Pie (147086), Cajun Craze (147085), and Merry Merlot (147112).


Some of the tags also received a flick off the cap of a Basic Black Stampin' Write Marker (100082) creating a spray of splatter.


Next, the apple was an easy addition using the Harvest Hellos Bundle (153037). A punch using both Granny Apple Green (147095) and Soft Suede (147115) Cardstock formed the apple along with an even coat of glue from The Fine-Tip Glue Pen (138309) or Glossy Accents if you have it on hand. 

The ornate topper was punched with the Scalloped Tag Topper Punch (133324).


A couple of final touches with a swatch of Crumb Cake Cardstock (120953) curved at one end and a Fall or Halloween sentiment and the project is complete. 

My sentiment came from a past Hero Arts Thanksgiving Kit.

One note, from experience, once these kits are made, make sure to hand them out right away. I noticed after a couple of days in the bags, the caramel in the bottom of the bags started to soften and get sticky due to the moisture given off from the apples. 

Once I remove the apple, the caramel squares dried up again, ready to be repackage until the delivery day. 

For any final measurements and varying supplies click on Allison's YouTube video linked above in the beginning of this post.

If you need any supplies to complete this project shop my online store.

Have fun! 

💗 Vally

Wednesday, October 16, 2019

Stampin' Up! From Our House To Yours


A Rod Works Inspiration


As I was out and about shopping for some Autumn Decor for my home, I snapped a few photos of various things that spurred a little soul inspiration at Rod Works.

One of those photos was of a grouping of little wooden houses with black roofs. The houses were displayed on a shelf that rested in front of a teal brick wall. I took the photo back to my craft studio and created two projects, one of which is this card.


I initially made a handful of Hersey Nugget Hinged Boxes with this similar design, which I shared in the last blog post. Here is another look:


Each of the houses was stamped in VersaMark (102283) and heat embossed with Clear (109130) and Black Stampin' Emboss Powder (146956) on Crumb Cake Cardstock (120953) and fussy cut before layering them with a combination of Multipurpose Liquid Glue (110755) and Dimensionals (104430/144108).


The Buffalo Check Background Stamp (151372) grounds the Pretty Peacock (150880) rectangular faux brick wall. I cut the brick embossed cardstock down to a 3 3/4" X 2 1/4" rectangle and popped it up with dimensionals (104430). 

I thought I had the Brick and Mortar 3D Embossing Folder (149643), but I had a retired folder instead.

VersaMark (102283) was used to stamp the sentiment on Basic Black Cardstock (121045) and then heat embossed in White Stampin' Emboss Powder (109132). Then the sentiment was cut out with a Layering Circles Die (151770)


The Crumb Cake (120953) frame was stamped with the retired Hardwood Background stamp (133035) in VersaMark (102283) for a light tone on tone look. 

One of the Stitched Rectangle Dies (148551) cut the center of frame out and a Stitched Be Mine Die (148527) provided the small heart above the chimney that I covered in 3D Crystal Lacquer.  

Inside the card, I stamped the sentiment "Hoping your busy year comes together in Christmas Cheer" using a masking technique in both Crumb Cake (147116) and Real Red (147084) Classic Stampin' Inks. The sentiment comes from the Perfectly Plaid Bundle (149418).

I also finished up the last Lotion Shadow Box that I also shared in an earlier Post.


 The decorative front includes retired Designer Series Paper, dies used are from the Wild Rose Bundle (151073), So Many Stars Bundle (153016), Peaceful Boughs Bundle (153033), and the retired sets including Mini Treat Bag (137547) and Foliage Frame  (146353) dies. 


Just In case you did not see the previous Blog Post, here are the other Shadow Boxes below. 


If you would like the details on these Lotion Shadow Boxes open the blog post titled "2019 Stampin' Up! Holiday Open House", which was uploaded on October 8, 2019. 

If you would like to see what I am creating next, subscribe to my blog!

💗 Vally

Crafting for Christmas


Treat Boxes Galore!

 With an assortment of chocolates, why not create a variety of boxes!


Who doesn't need a little chocolate in their lives? Here is a selection of Hersey Nugget hinge boxes containing individually wrapped chocolate goodies.


Stampin' Up! provides an assortment of stamp sets and dies inspiring an array of creative expression!

Beginning at the top, the Harvest Hellos Bundle (153037) and a retired Designer Series Paper (DSP), as well as blended backgrounds with a retired stencil, small Very Vanilla (144237) belly bands, Linen Thread (104199), Crushed Curry (131199) and Pumpkin Pie (105117) Cardstocks, and the aid of my sewing machine provided a treat container perfect for Fall.


Next, the Perfectly Plaid Bundle (151143)Wrapped in Plaid 6 x 6 DSP (149596), the Tailored Tag Punch (145667), and a few coordinating belly bands also offered great inspiration for another 3D display.


The same DSP along with a little bit or retired Holiday DSP also offers a backdrop to a mixture of poises with poke-a-dot (149596), plaid (149596), and Glimmer (146958) filled centers. 

I finally put The Stamp Market 's 3D Posie Dies to good use! After cutting a few circles out with my BigShot, I grabbed and used a few circle punches, which made an easy job of turning out multiple flower toppers.


The next 2019 Holiday Stamp Set called From Our house To Yours (150504) and a the Itty Bitty Christmas Stamp Set (150513) took a non-traditional turn to the an approaching Very Merry Holidays in Pretty Peacock (150880) and Crumb Cake (120953) Cardstocks. In addition, the houses and sentiment came together using Clear (109130) and Black (146956) Stampin' Emboss Powder. 


For a little variety and off the Holiday theme, a coffee inspired candy box finishes my crafty assortment.


While the set above is created with a set of retired DSP, a couple of current items are used. 

They include a selection of hearts cut from Real Red Cardstock with a die from the Stitched to Be Mine Set (148527), a layer of Garden Green (102484) and Whisper White (100730) Cardstocks cut from the StarBurst Punch (143717), and a combination of regular and scallop Circles from the Layering Circles Die Set (141705) in Early Espresso (119686), retired Soft Sky, and Whisper White (100730) Cardstocks.

The Paper Pixie provide an easy to follow tutorial that I used to create the box bases and can be found at the following YouTube link


Hopefully, you can find some time to create one of a kind treats to pass out to your friends, family, coworkers, or any special person in your life this Holiday Season.

Join me next time as I share another Holiday project!

If you need supplies, shop my online store and thank you for spending some of your time here! 

Links are provided by clicking on the individual item numbers above.

💗 Vally